Few dishes evoke the comforting warmth and satisfaction of a perfectly cooked beef arm roast. The rich aroma wafting from the oven, the tender meat falling apart with each forkful – it’s a culinary experience that delights the senses and brings people together around the dinner table. In this article, we’ll embark on a journey to master the art of cooking the perfect beef arm roast recipe, exploring its origins, the ingredients needed, step-by-step instructions, serving suggestions, health benefits, and more.
Mastering the Perfect Beef Arm Roast: A Culinary Journey
Understanding the Beef Arm Roast
Before we dive into the recipe, let’s take a moment to understand what makes the beef arm roast so special. Also known as chuck roast, it comes from the shoulder area of the cow. This cut is renowned for its marbling, which adds flavor and tenderness to the meat. Despite being a tougher cut, with the right cooking techniques, the beef arm roast transforms into a succulent and flavorful dish that’s sure to impress even the most discerning palate.
Ingredients for the Perfect Beef Arm Roast
To begin our culinary journey, gather the following ingredients:
- Beef arm roast (chuck roast)
- Olive oil
- Salt
- Pepper
- Garlic powder
- Onion powder
- Beef broth or red wine (optional)
These simple yet essential ingredients form the foundation of our dish, creating layers of flavor that will elevate the beef arm roast to new heights.
Step-by-Step Recipe
- Preparing the Beef Arm Roast: Begin by preheating your oven to around 325°F to 350°F, depending on your preference. Pat the beef arm roast dry with paper towels, ensuring there’s no excess moisture. This step is crucial as it allows for a better sear and ensures the meat retains its juices during cooking.
- Seasoning and Flavoring: Once dry, season the beef arm roast generously with salt, pepper, garlic powder, and onion powder. Don’t be shy with the seasonings; they’ll infuse the meat with flavor as it cooks. Optionally, sear the roast in a hot skillet with a drizzle of olive oil to create a delicious crust and lock in the juices.
- Cooking the Beef Arm Roast: Transfer the seasoned beef arm roast to a roasting pan or oven-safe skillet. If using, pour beef broth or red wine into the bottom of the pan to keep the meat moist and flavorful. Cover the pan with aluminum foil or a lid to trap the heat and moisture, then roast in the preheated oven for several hours. The cooking time will vary depending on the size of the roast, but a general rule of thumb is about 20 minutes per pound. Check for doneness by inserting a fork into the meat; it should slide in easily, indicating that the roast is tender and cooked to perfection.
Tips for Mastering the Perfect Beef Arm Roast
- Choose a well-marbled beef arm roast for maximum flavor and tenderness.
- Allow the roast to rest for a few minutes after cooking to allow the juices to redistribute, resulting in a juicier and more flavorful end product.
- Experiment with different seasonings and flavorings to customize the dish to your taste preferences. Don’t be afraid to get creative and add your own twist to the recipe.
Serving Suggestions
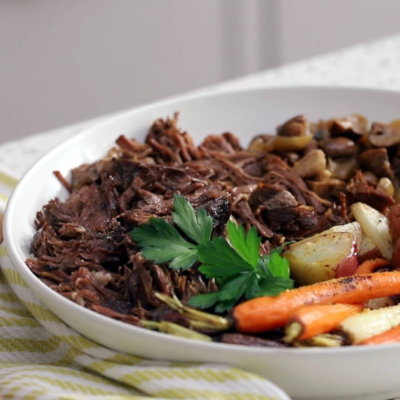
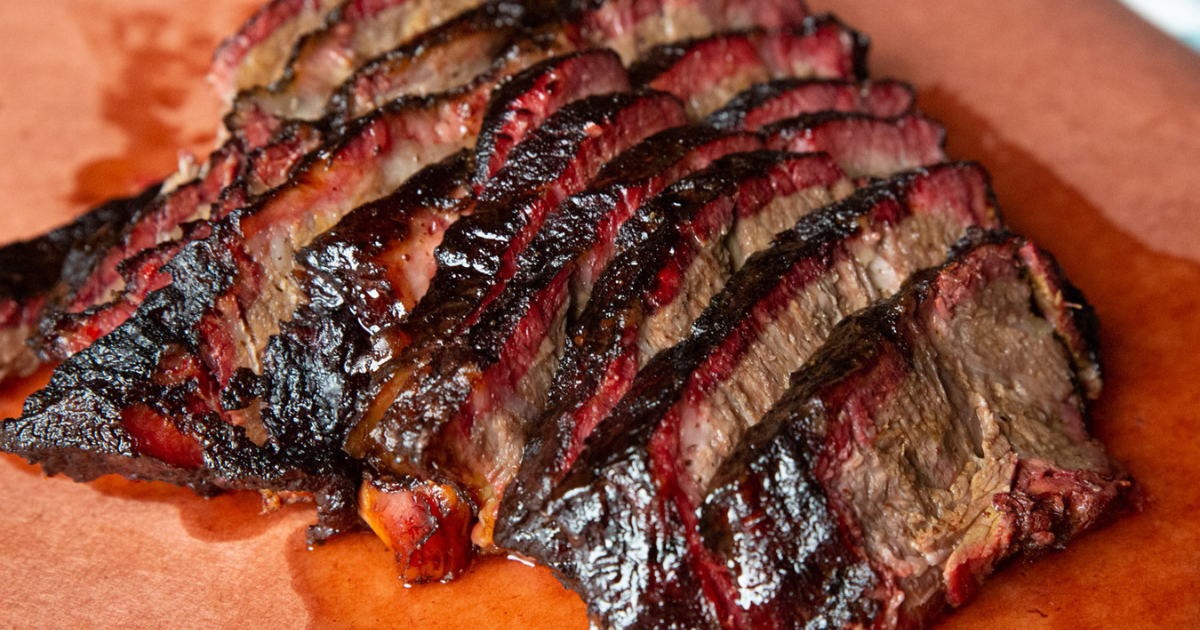
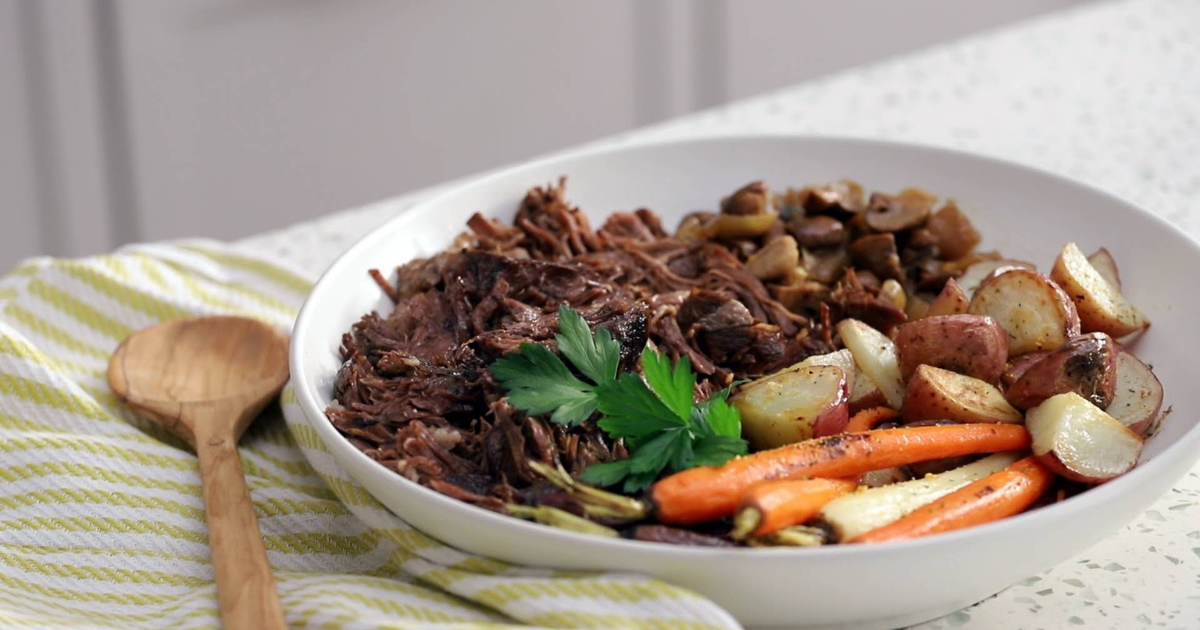
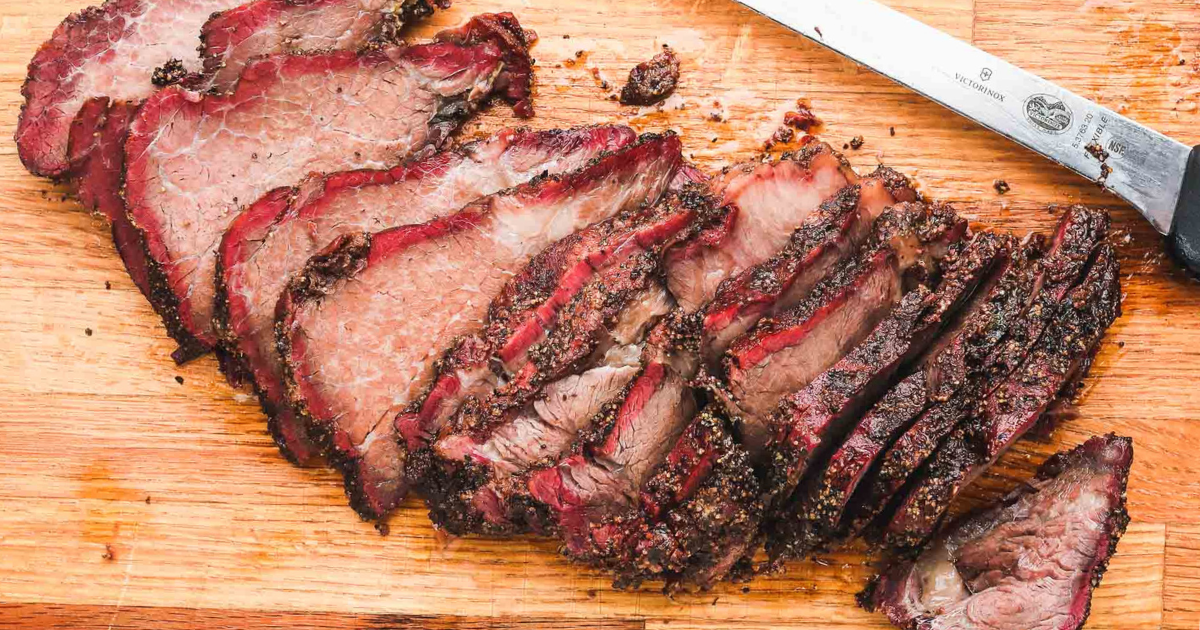
Once the beef arm roast is cooked to perfection, it’s time to serve up this culinary masterpiece. Slice the roast thinly against the grain to ensure tenderness, and serve alongside your favorite side dishes. Mashed potatoes, roasted vegetables, and a fresh green salad are all excellent accompaniments that complement the rich flavors of the beef arm roast. For added indulgence, drizzle with pan juices or serve with a dollop of horseradish sauce for a touch of zing.
Health Benefits of Beef Arm Roast
While beef arm roast may be indulgent, it does offer some nutritional benefits. Beef is an excellent source of protein, essential vitamins, and minerals such as iron and zinc. When paired with nutrient-rich side dishes like vegetables and whole grains, beef arm roast can be part of a balanced and nutritious diet.

Storing and Preserving
If you have any leftovers (though it’s rare with such a delicious dish), store them in an airtight container in the refrigerator for up to 3-4 days. Alternatively, freeze cooked beef arm roast for longer-term storage, ensuring it stays fresh and delicious for future meals.
Conclusion
In conclusion, mastering the perfect beef arm roast is a rewarding culinary journey that’s sure to impress your family and friends. With just a few simple ingredients and some patience, you can create a dish that’s bursting with flavor and guaranteed to become a family favorite. So roll up your sleeves, preheat your oven, and get ready to savor the deliciousness of a perfectly cooked beef arm roast. Happy cooking!
FAQs: Your Burning Questions Answered
Q: Can I use other cuts of beef for this recipe?
A: While the beef arm roast is our top choice for this recipe due to its tenderness and flavor, you can certainly use other cuts such as chuck roast or bottom round roast with similar results.
Q: How do I know when the roast is done cooking?
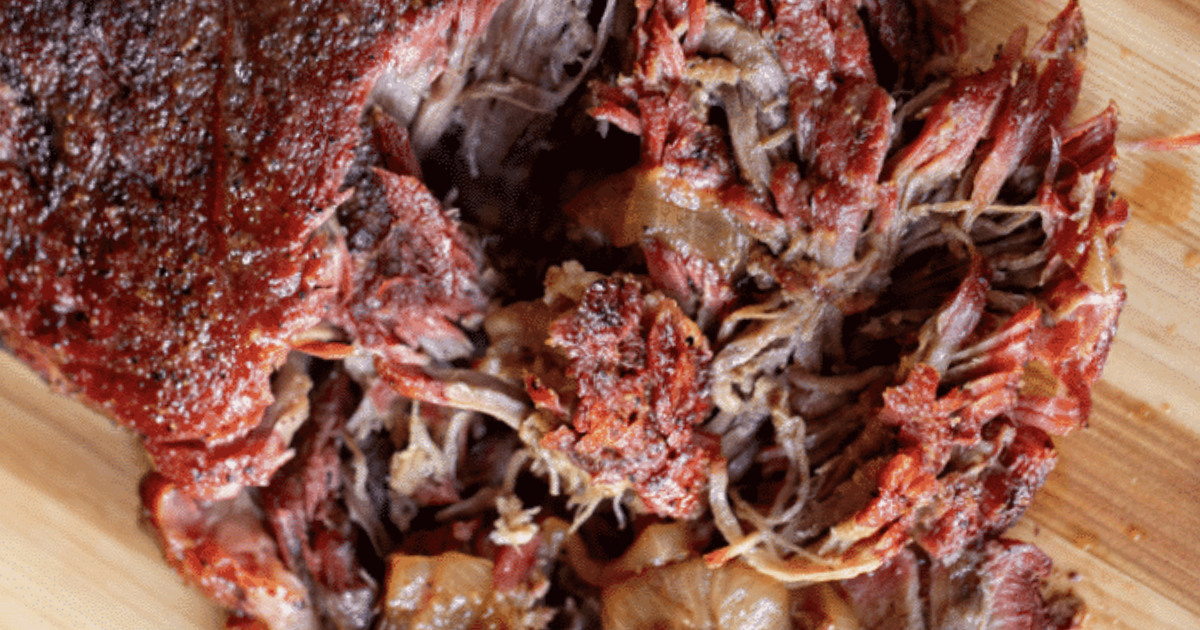
A: The best way to determine if the roast is done is by testing its tenderness with a fork. If it easily shreds apart and is melt-in-your-mouth tender, it’s ready to be enjoyed!
Q: Can I make this recipe in a slow cooker instead of the oven?
A: Absolutely! Simply follow the same steps for searing the roast and sautéing the vegetables, then transfer everything to a slow cooker and cook on low for 8-10 hours or on high for 4-6 hours until tender.